
Runtipi
Runtipi is an open-source personal homeserver helper designed to manage and run multiple services on a single server. For more details, visit the official website. With its robust proxy features, Runtipi integrates seamlessly with Tinyauth to provide a smooth authentication experience.
Creating Users and OAuth Clients
Section titled “Creating Users and OAuth Clients”Users can be created using the Tinyauth CLI. Ensure the “format for docker” option is selected to allow Tinyauth to parse the user correctly.
The Runtipi app includes inputs for GitHub and Google OAuth. To use OAuth, refer to the OAuth guides and note the client IDs and secrets.
Modifying the Forward Auth Middleware
Section titled “Modifying the Forward Auth Middleware”By default, Runtipi uses its own login screen for authentication. To replace it with Tinyauth, enable advanced settings:
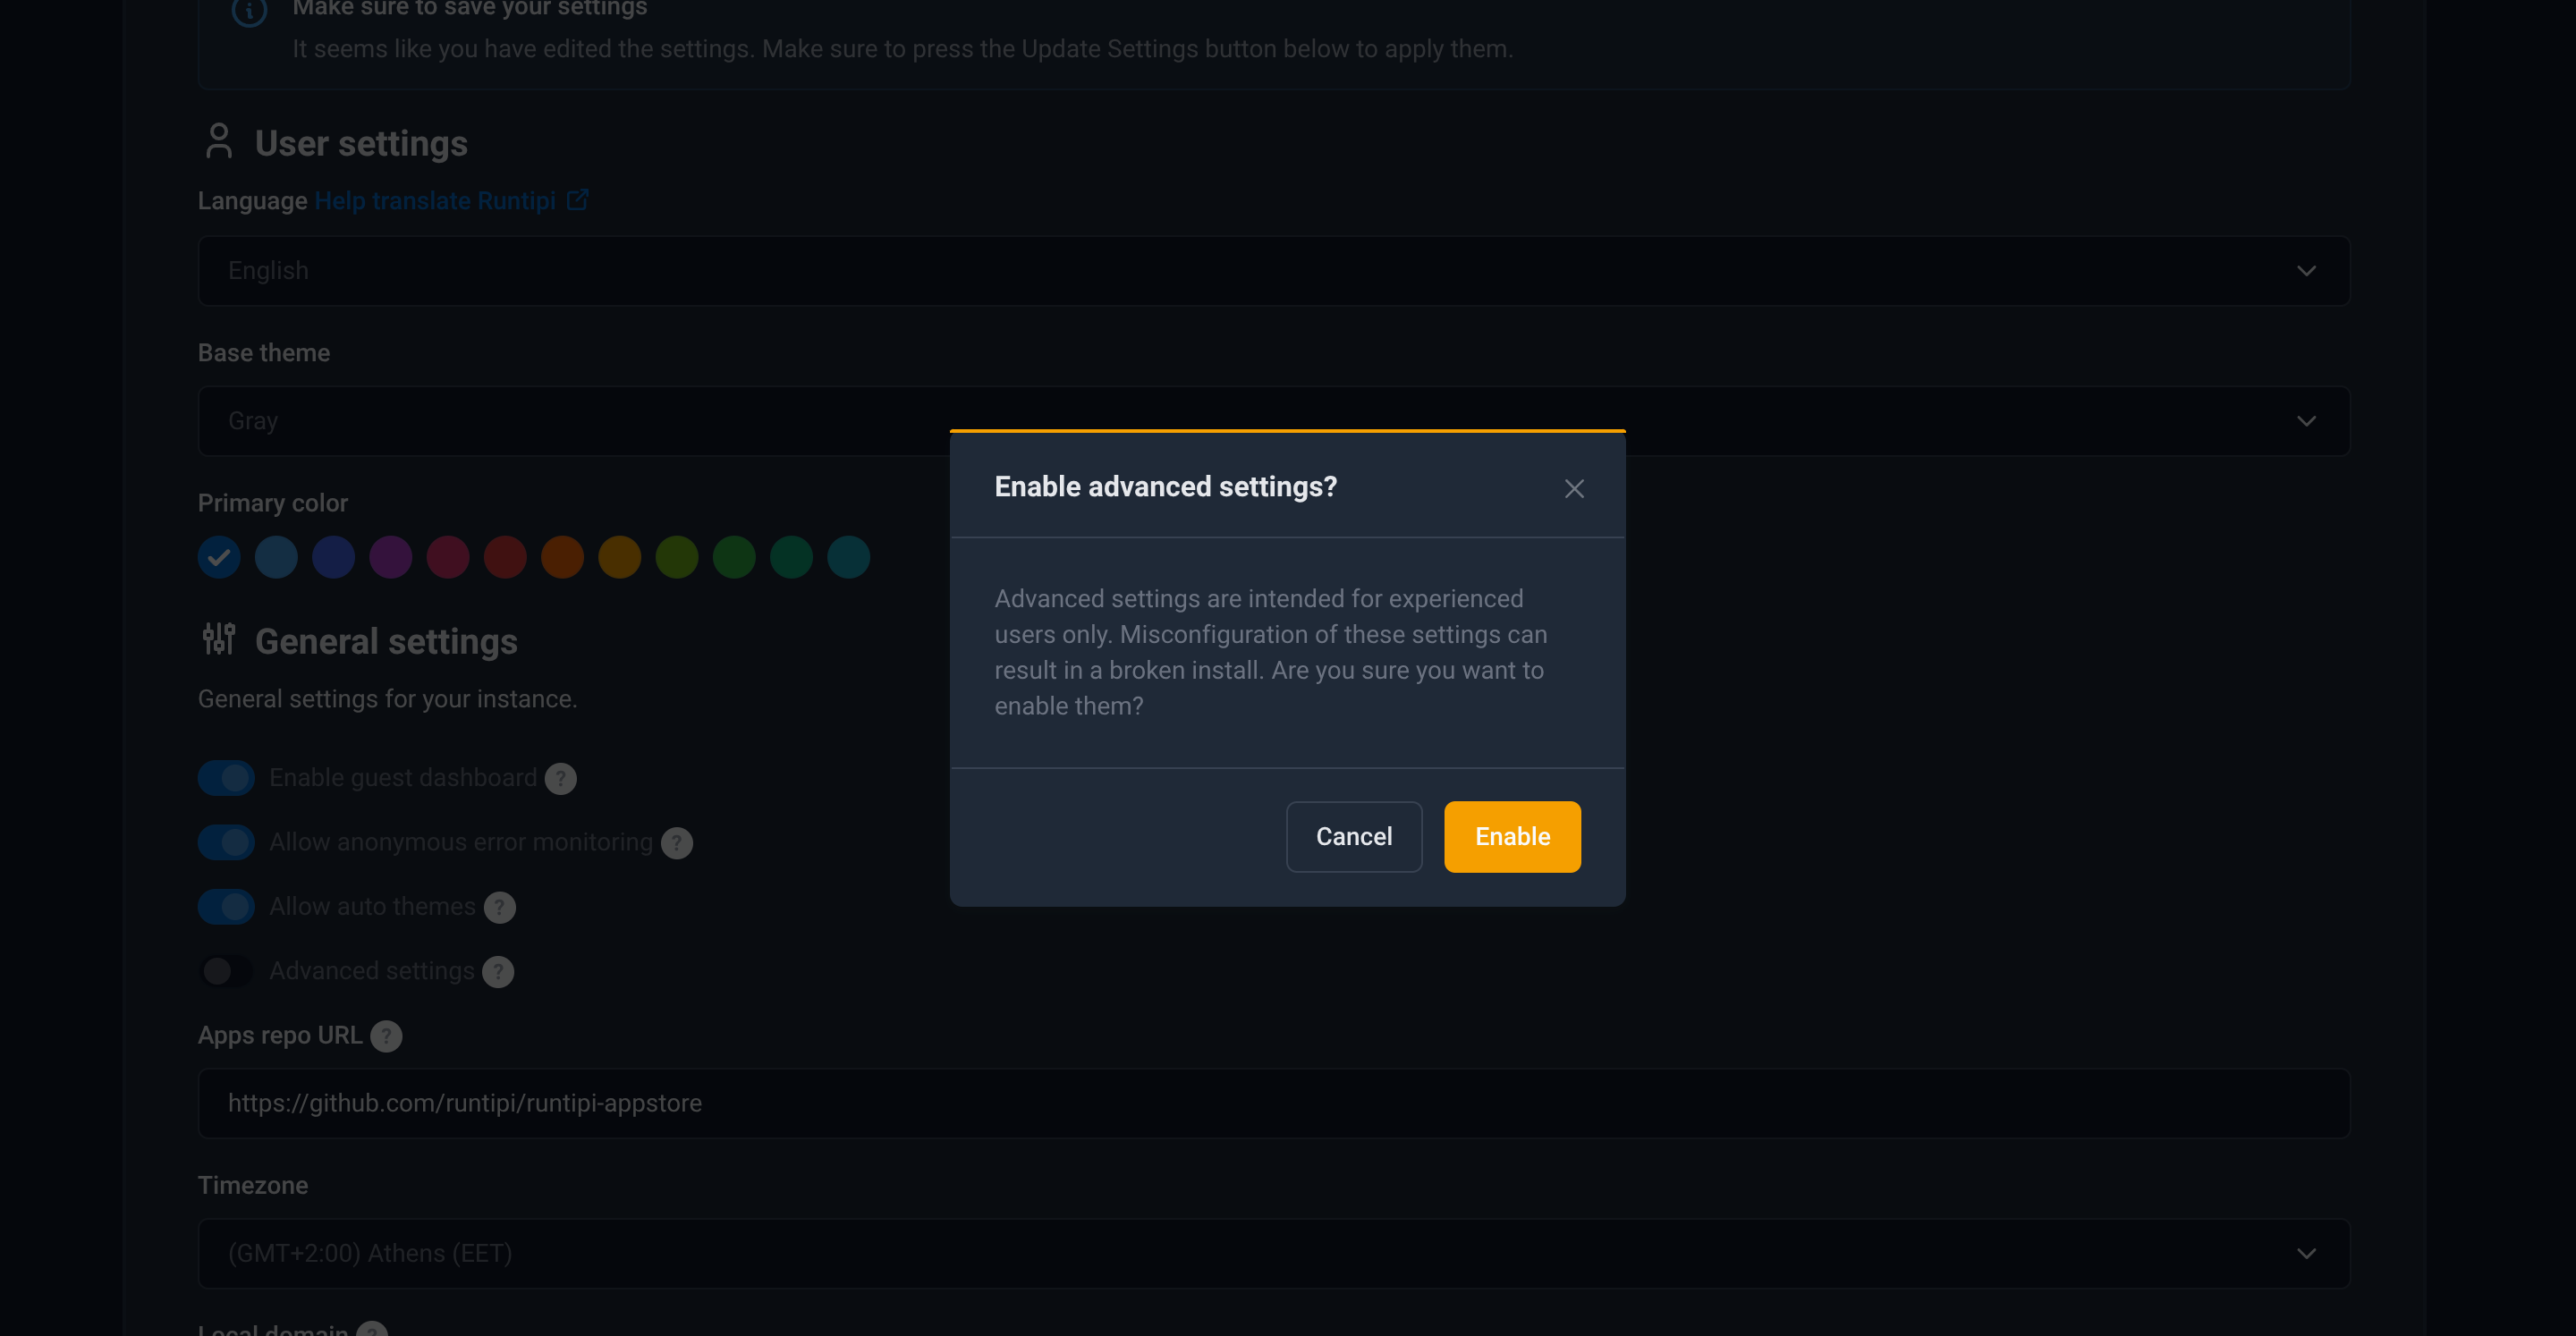
Set the forward auth URL to:
http://tinyauth:3000/api/auth/traefik
Save the settings and restart Runtipi.
Installing Tinyauth
Section titled “Installing Tinyauth”Navigate to the appstore tab, select the Tinyauth app, and fill in the users, OAuth credentials, and other required information. Before installation, enable either the local domain switch or the expose switch to ensure Tinyauth is accessible via a domain. This is necessary for proper cookie handling. Depending on the setup, use either the local domain or the exposed domain as the app URL (ensure HTTPS is used). Finally, complete the installation process.
Enabling Authentication for Applications
Section titled “Enabling Authentication for Applications”Authentication can be enabled for any application by opening its settings and toggling the enable authentication switch:
