Google OAuth
Tinyauth has built-in support for Google OAuth, making it straightforward to set up.
Requirements
Section titled “Requirements”- A domain name (gTLDs required)
- A Google account
Creating the Google OAuth App
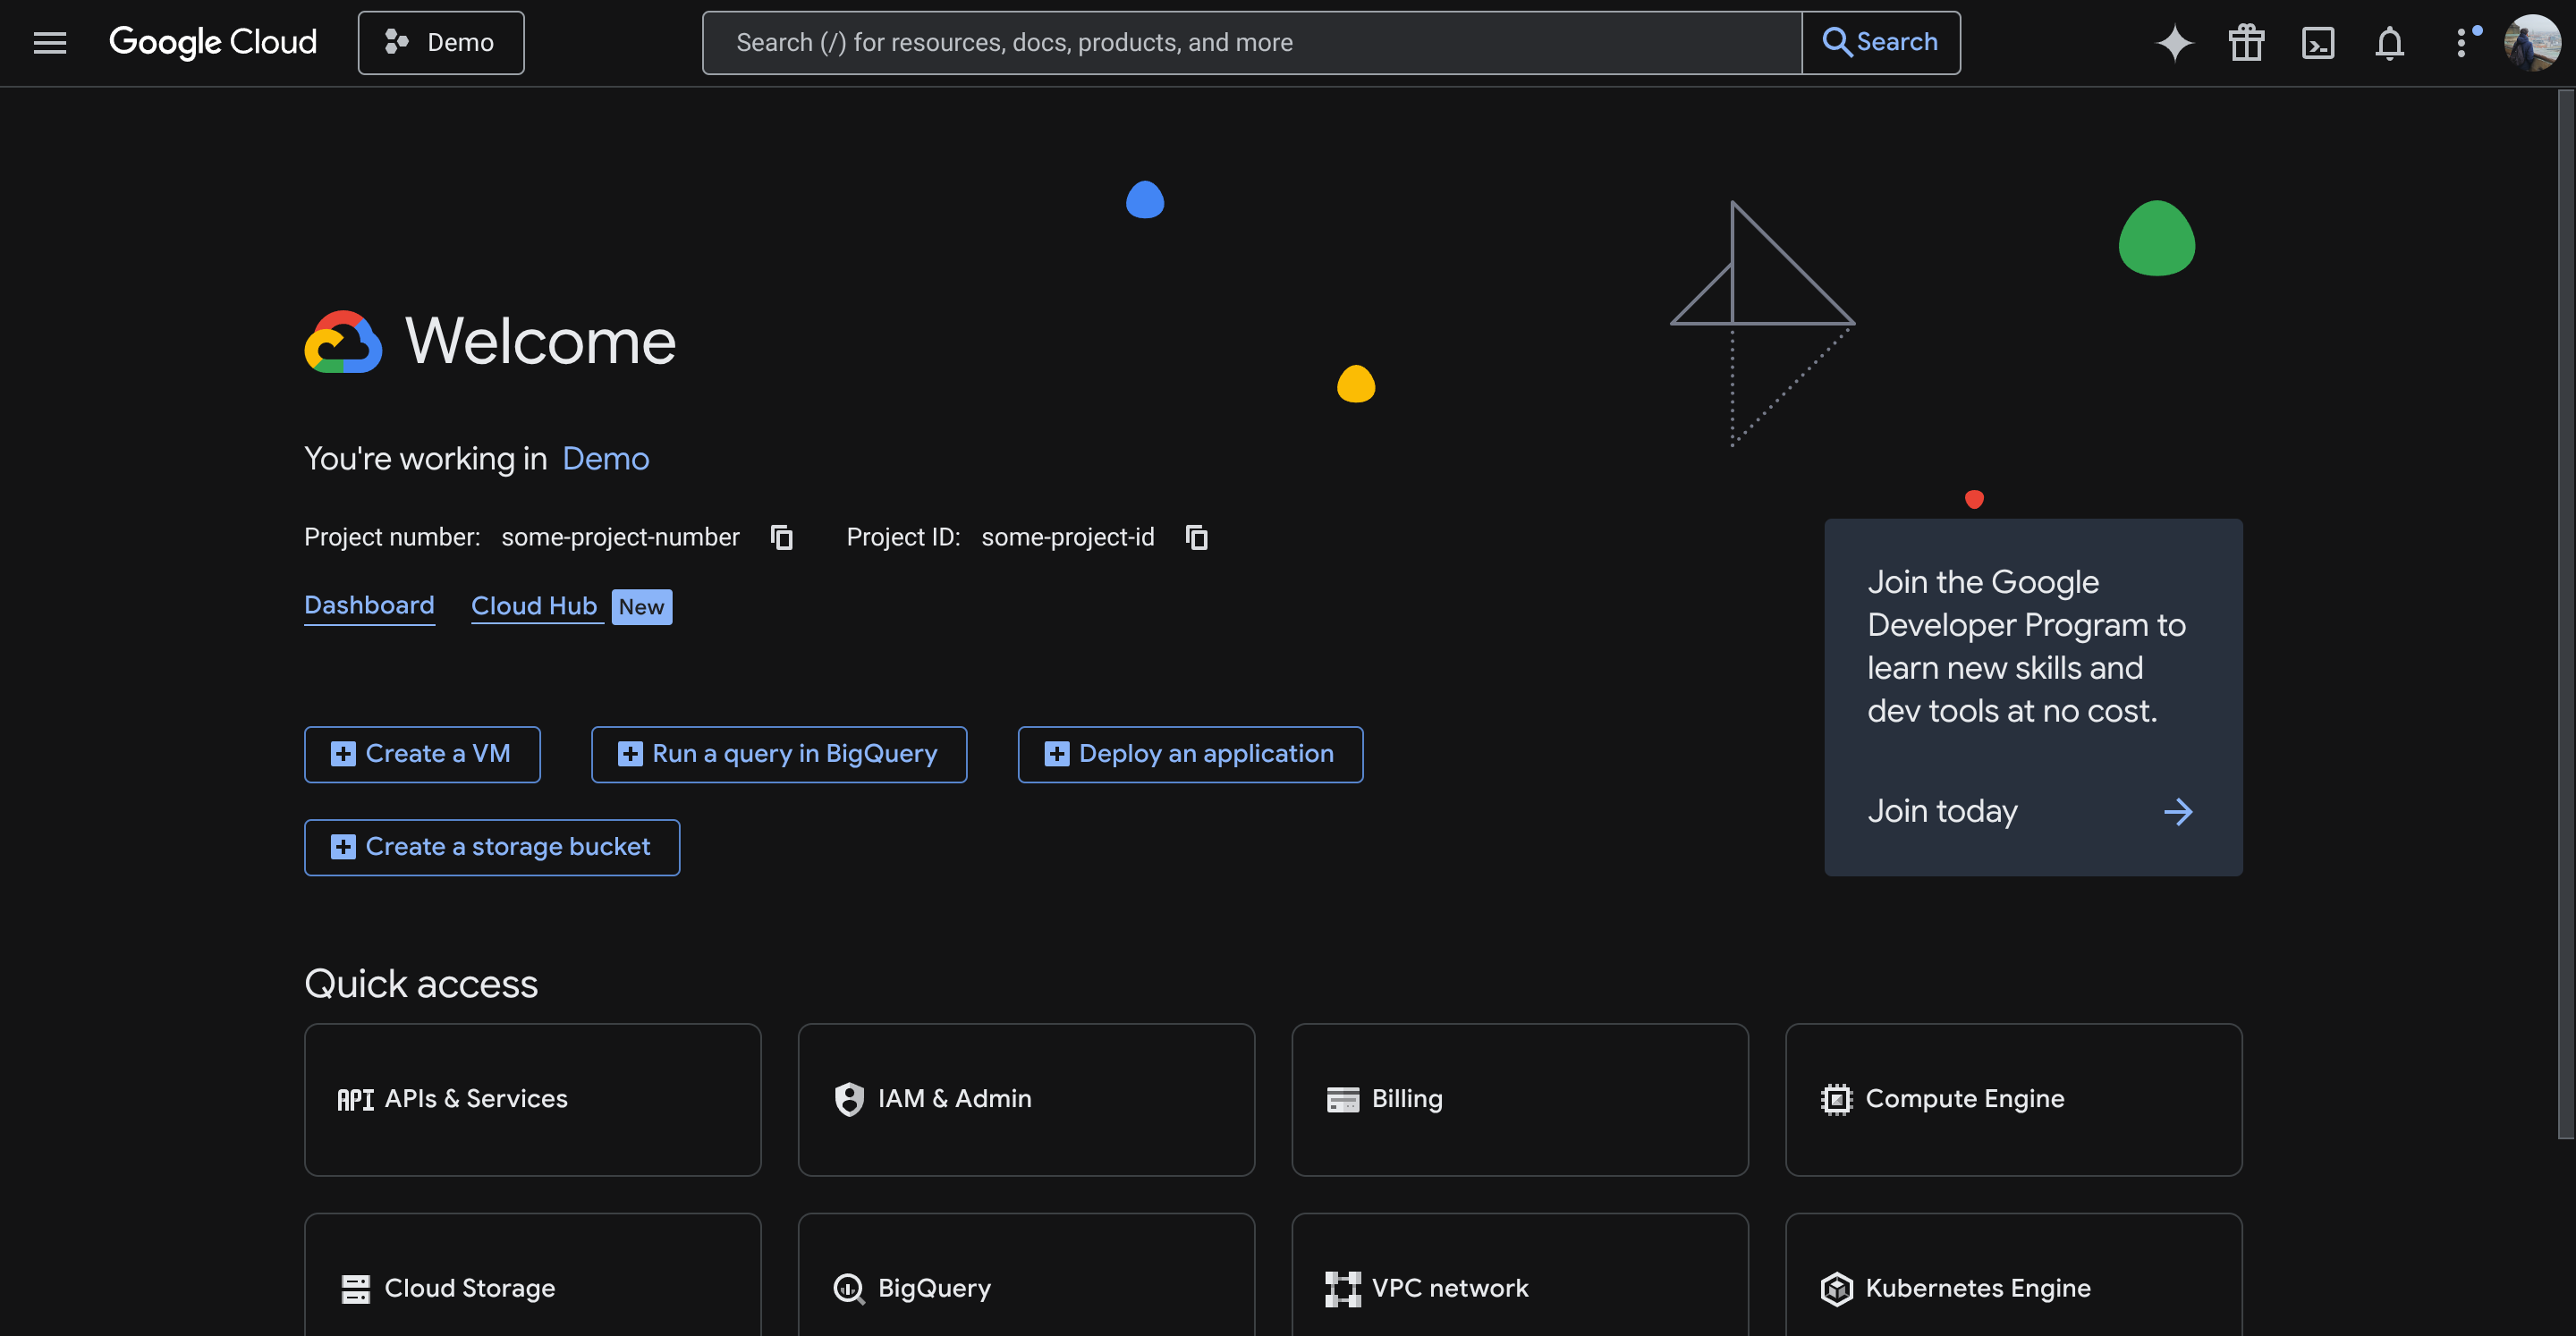
Section titled “Creating the Google OAuth App”To begin, create an app in the Google Cloud Console. Create a new project (a default project may already exist). After creating the project, the following screen should appear:
From the quick access menu, click APIs & Services, then select OAuth consent screen from the sidebar. Click the Get Started button in the middle of the screen.
After clicking the button, the following screen should appear:
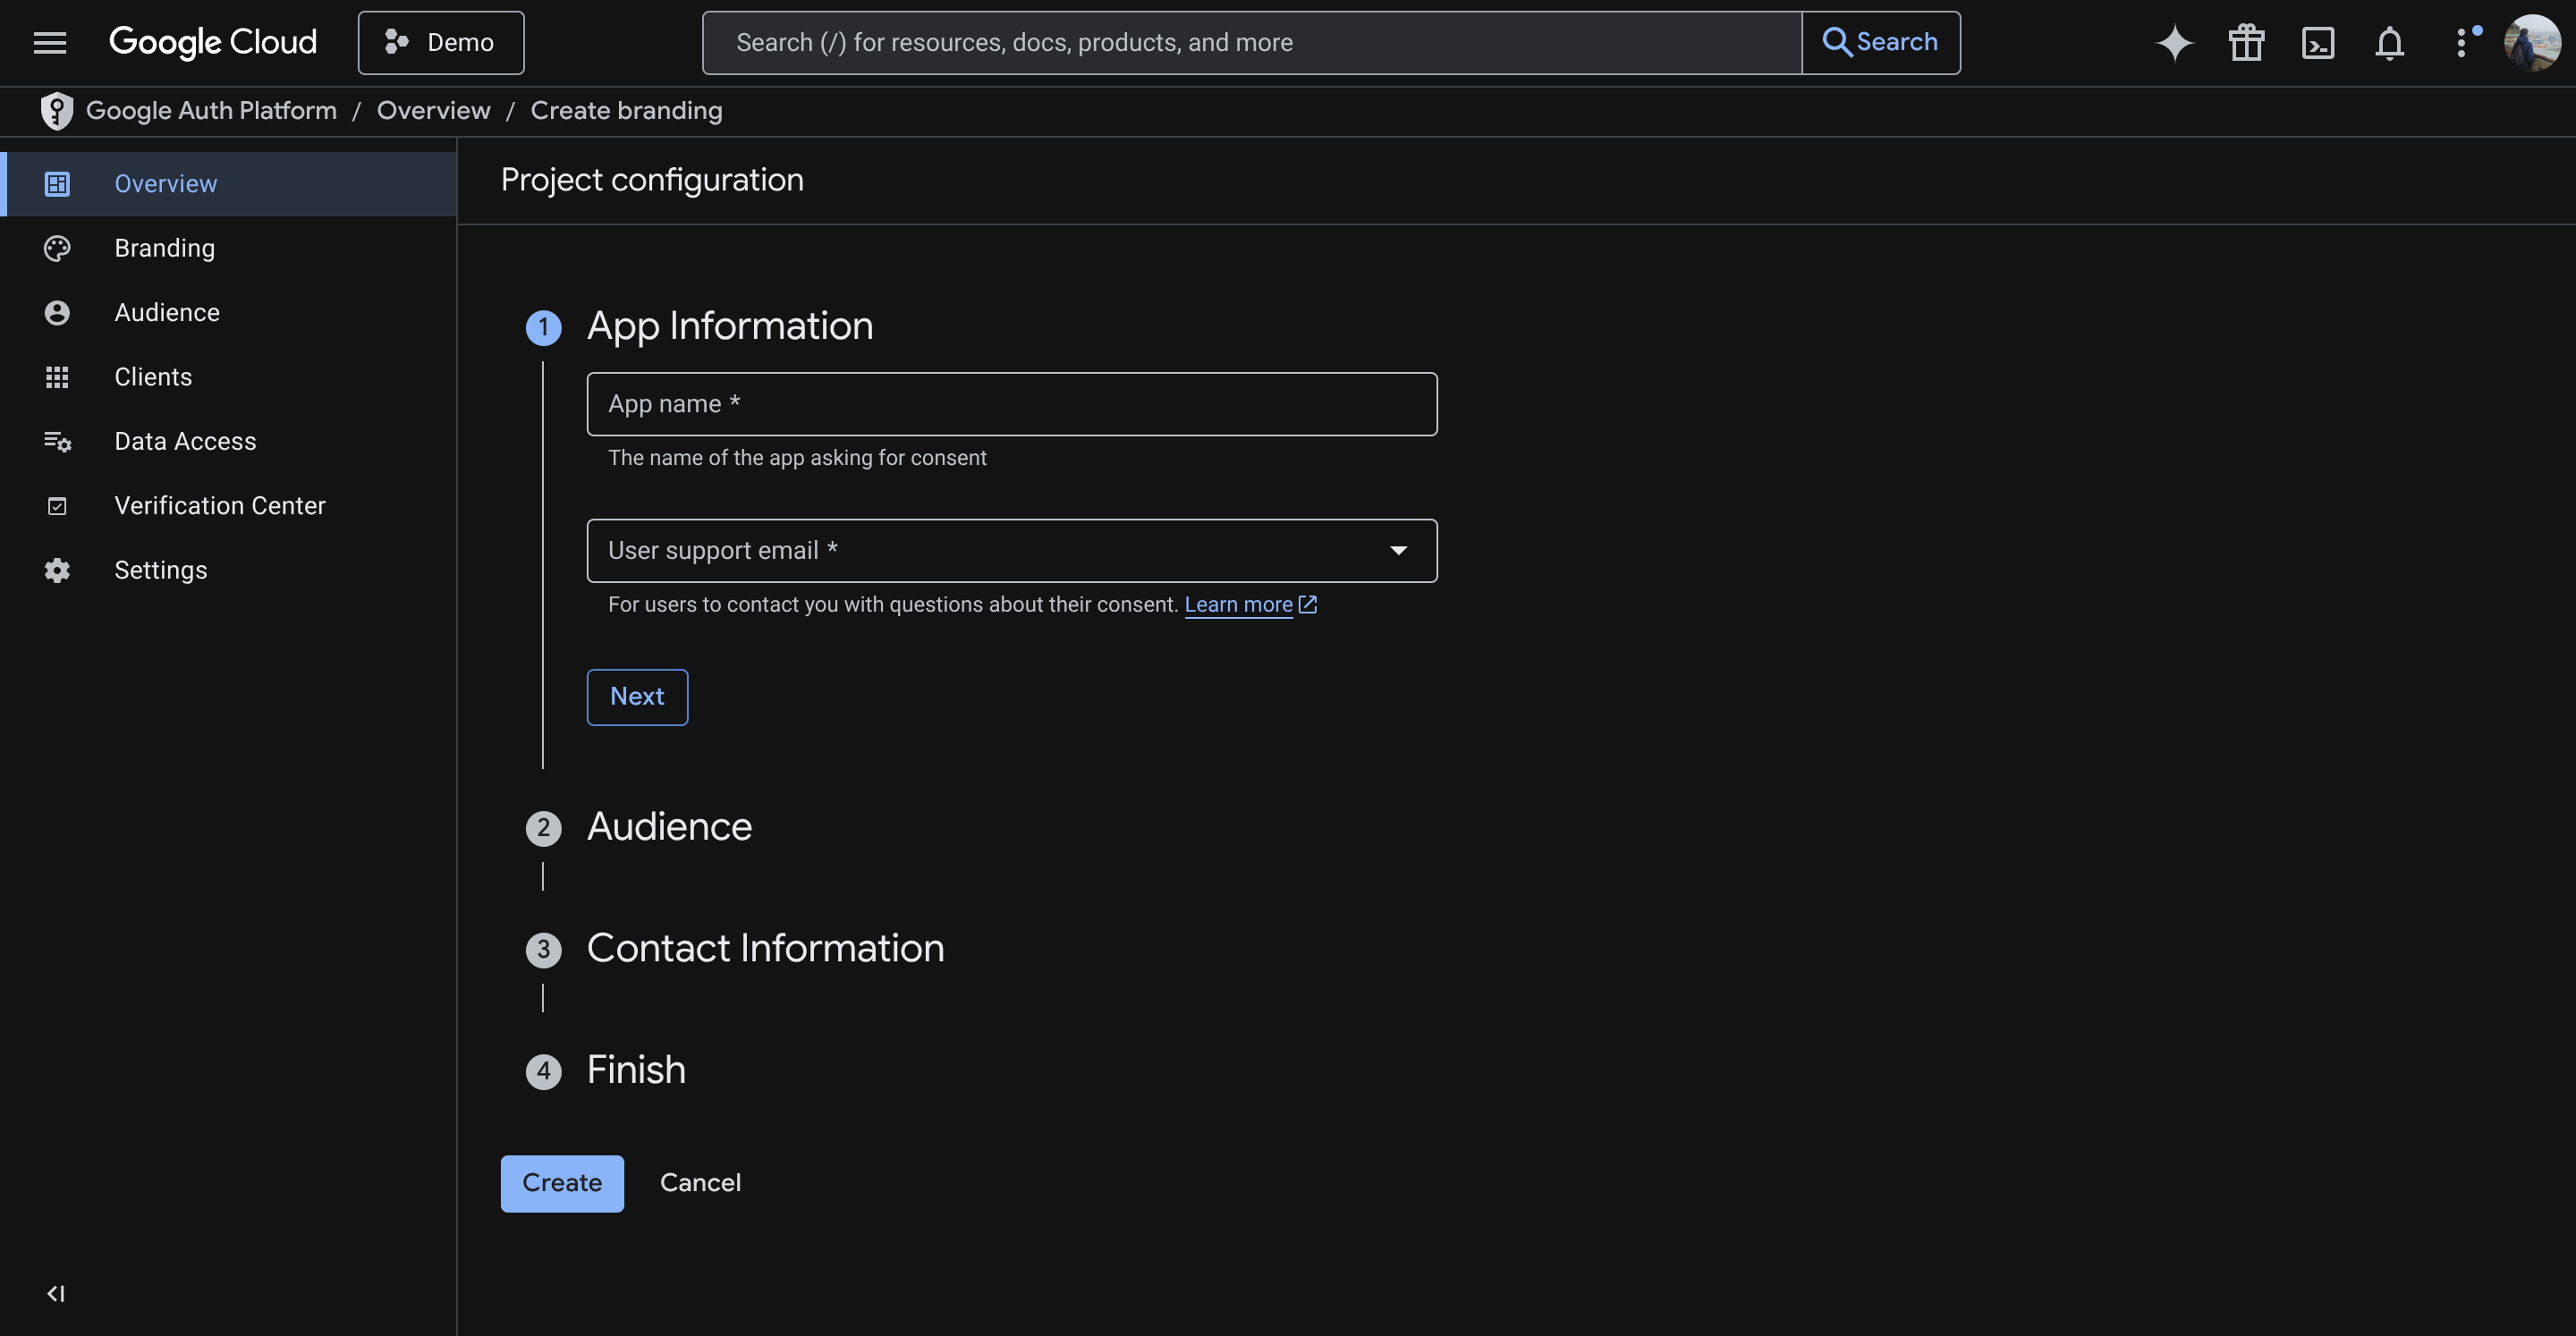
- App Name: Use
Tinyauth. - Support Email: Select the available email address.
- Audience: Choose External.
- Contact Information: Enter an email address.
- Agree to the data use policy and click Create.
After some time, the OAuth homepage will appear:
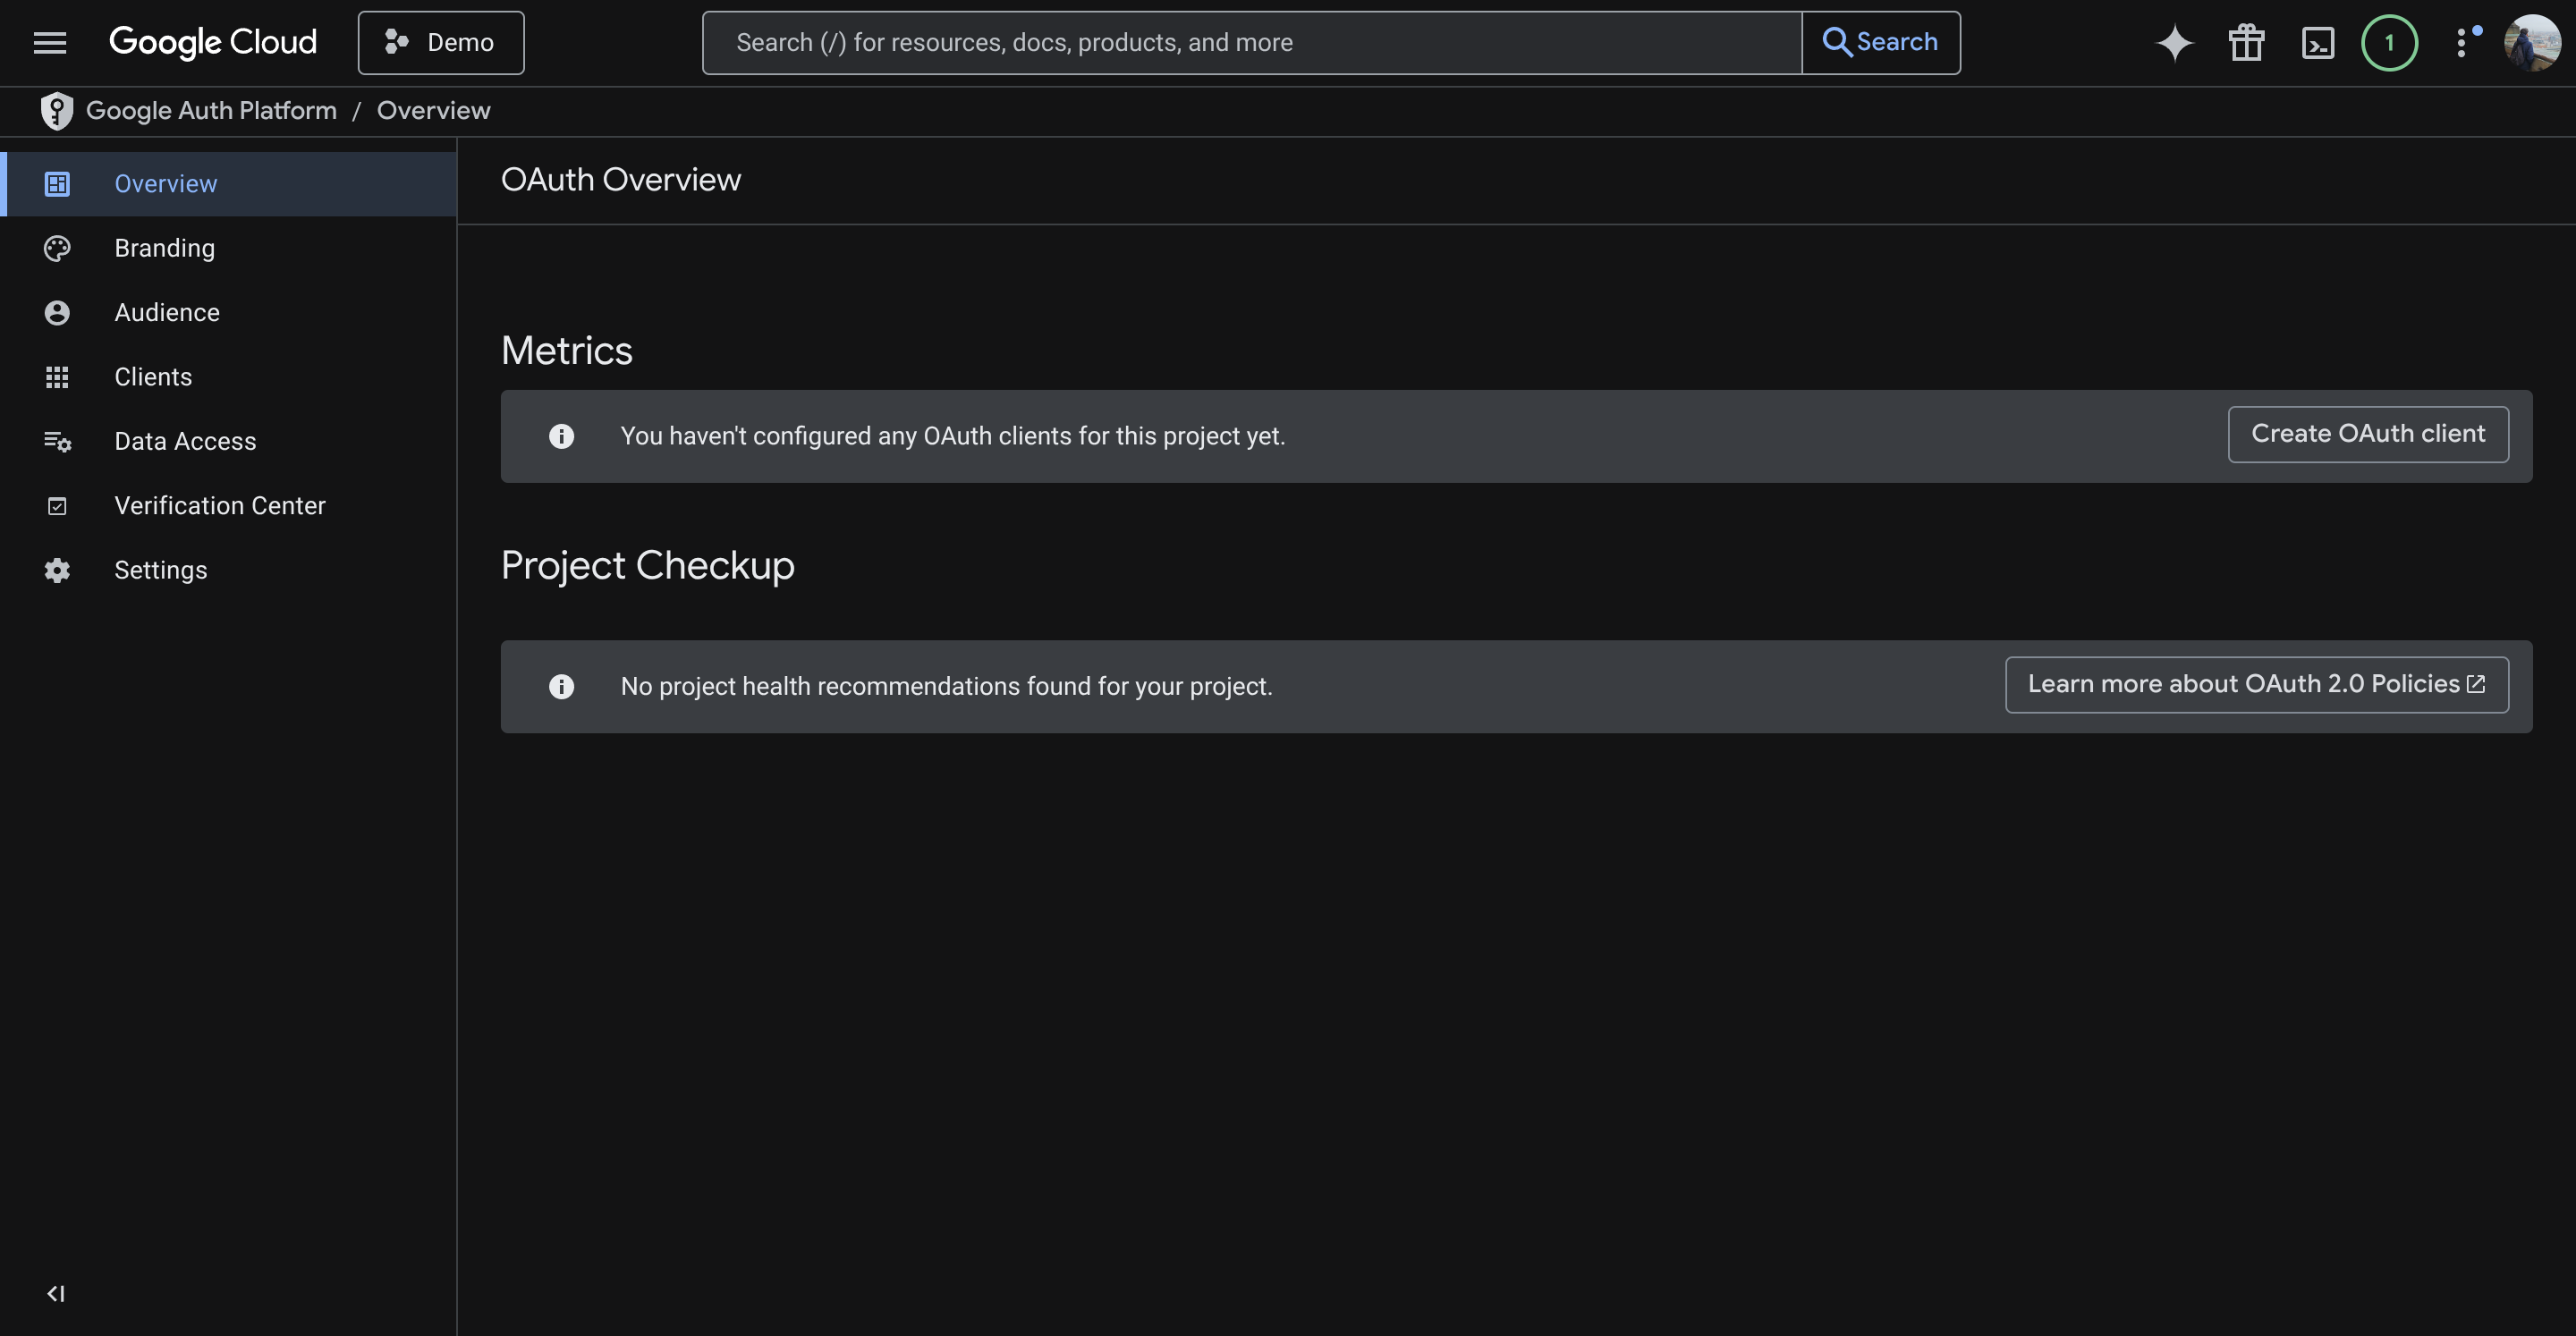
Click Create OAuth Client.
- Application Type: Select Web Application.
- Name: Optionally rename the client (default is
Web Client 1). - Authorized Redirect URIs: Add the domain with the
/api/oauth/callback/googlesuffix, e.g.https://tinyauth.example.com/api/oauth/callback/google.
Click Create. Once the application is created, the following screen will appear:
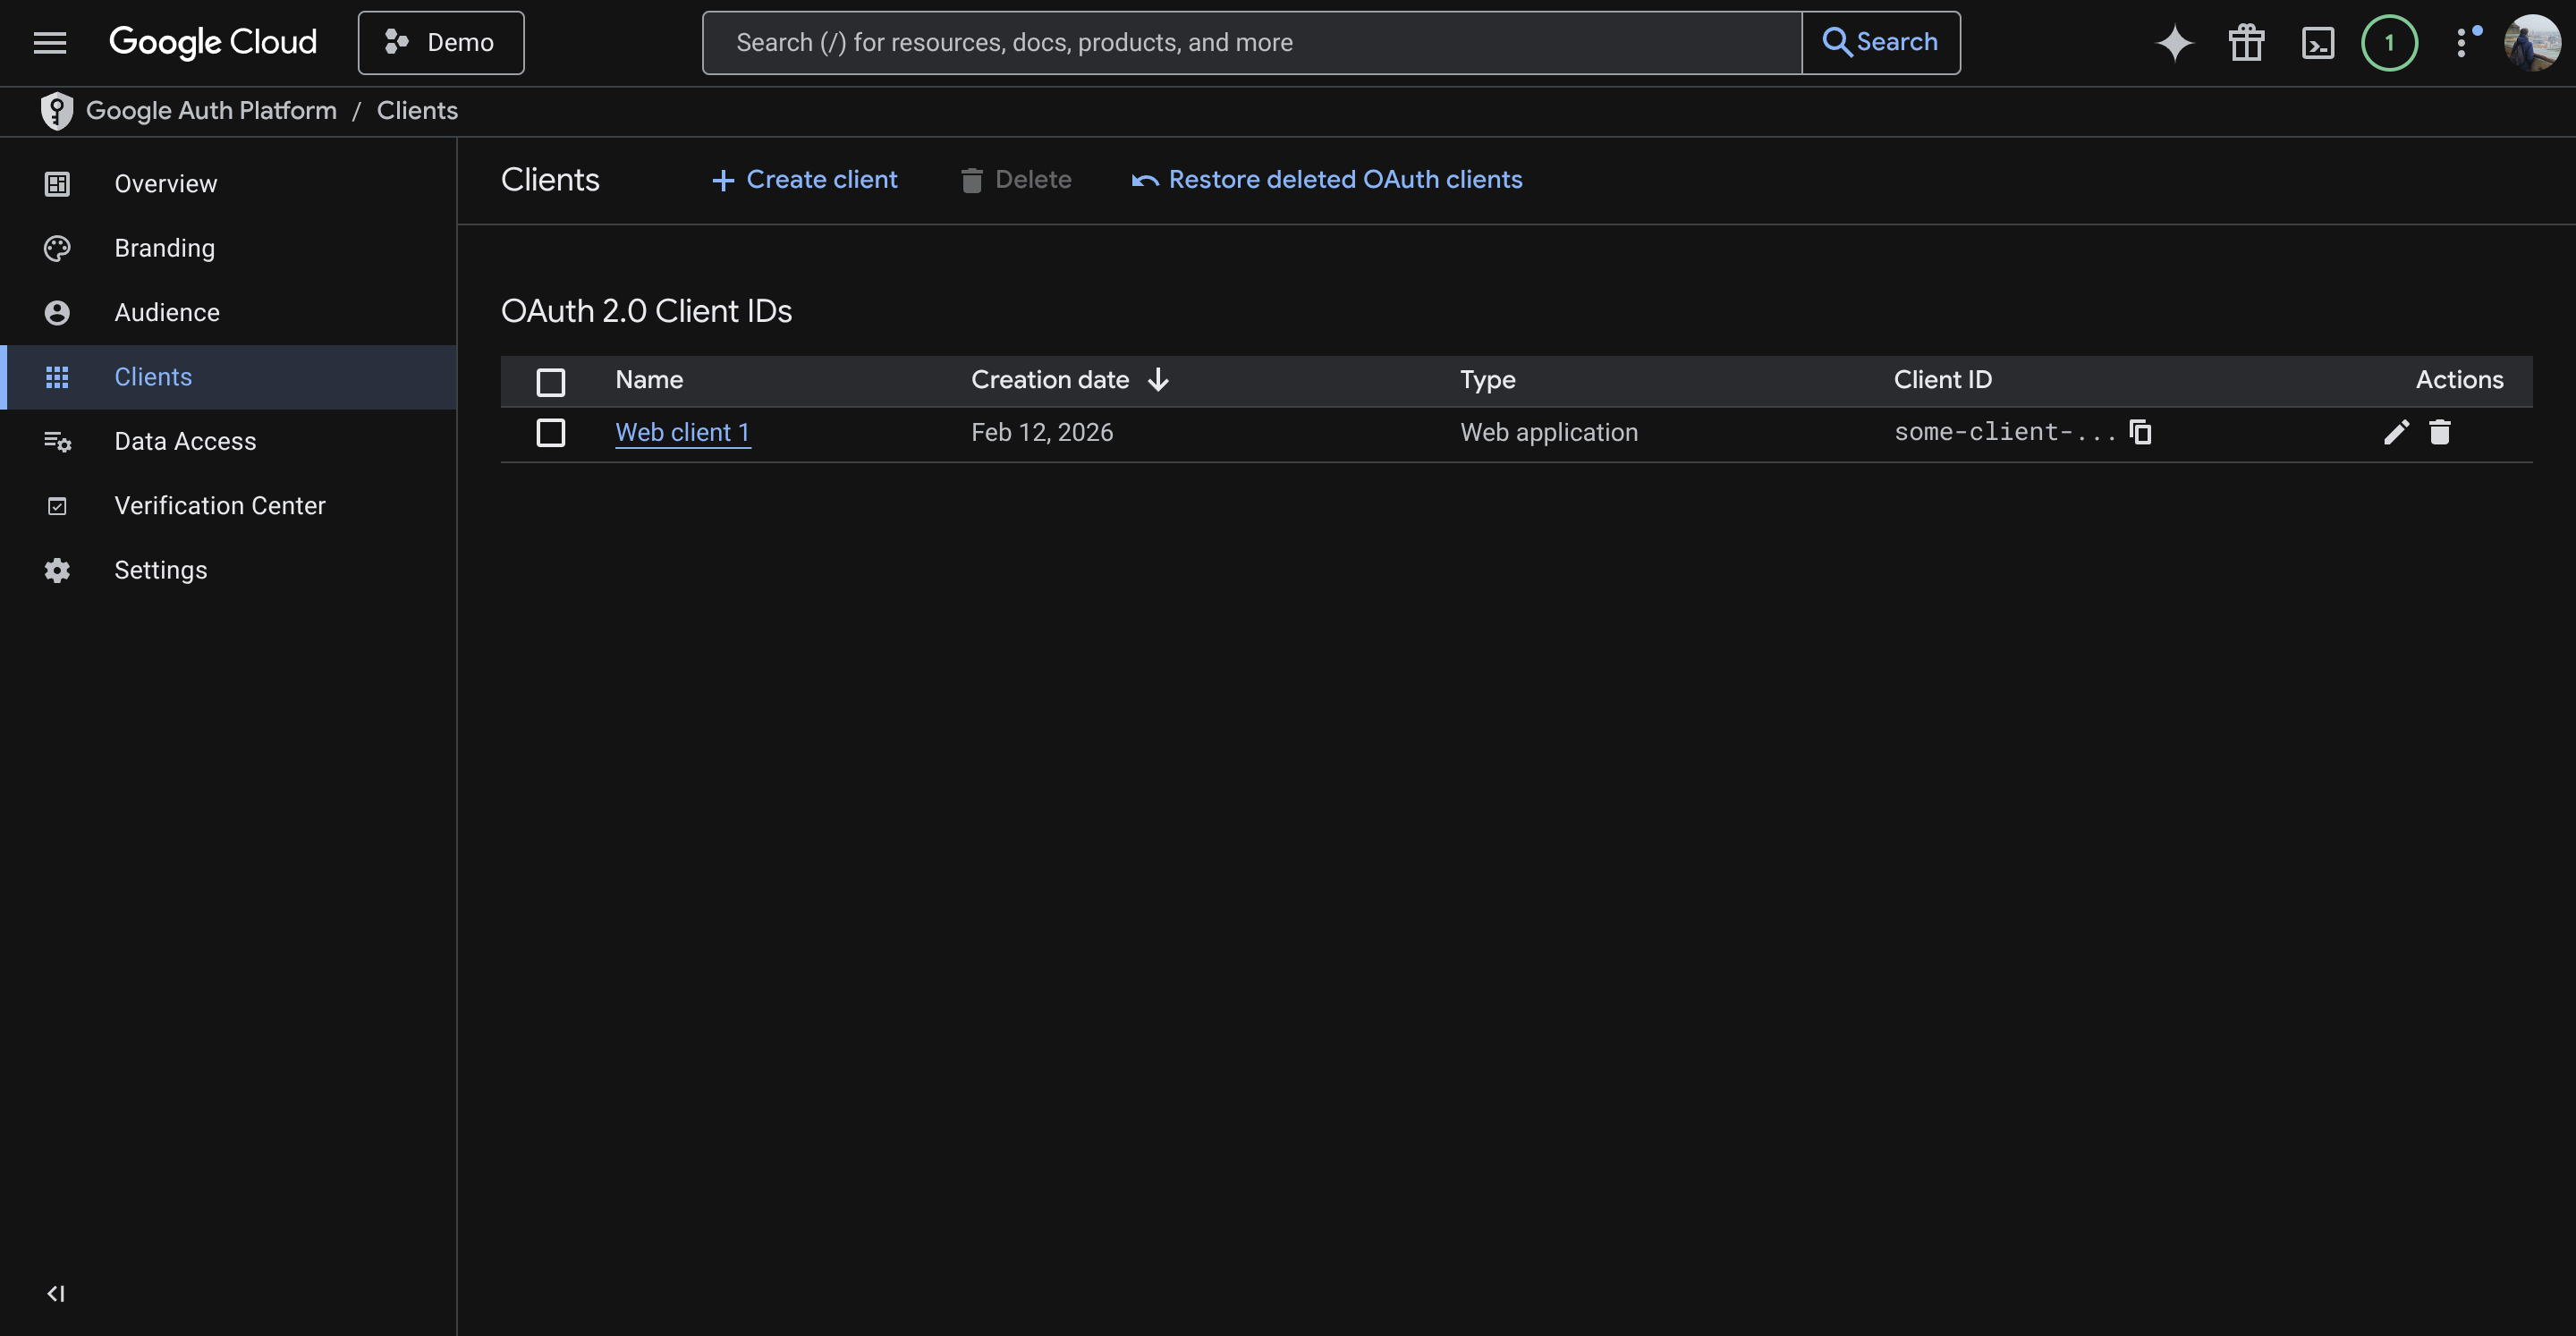
Click the client (e.g. Web Client 1) and copy the Client ID and Client Secret from the Additional Information section.
Configuring Tinyauth
Section titled “Configuring Tinyauth”Add the following environment variables to the Tinyauth Docker container:
services: tinyauth: environment: - TINYAUTH_OAUTH_PROVIDERS_GOOGLE_CLIENTID=your-google-client-id - TINYAUTH_OAUTH_PROVIDERS_GOOGLE_CLIENTSECRET=your-google-secretRestart Tinyauth. Upon visiting the login screen, an additional option to log in with Google will appear.